> For the complete documentation index, see [llms.txt](https://catenoid-support.gitbook.io/loomex/llms.txt). Markdown versions of documentation pages are available by appending `.md` to page URLs; this page is available as [Markdown](https://catenoid-support.gitbook.io/loomex/userguide/videoedit/rotate.md).
# 회전하기
이 페이지에서는 Loomex의 회전하기에 대해 안내합니다.
> ### **회전하기**
>
> **라이브러리 편집>회전** 탭에서 동영상을 간편하게 회전할 수 있습니다.
### **회전하기**
#### **Step 1. 편집 구간 지정**
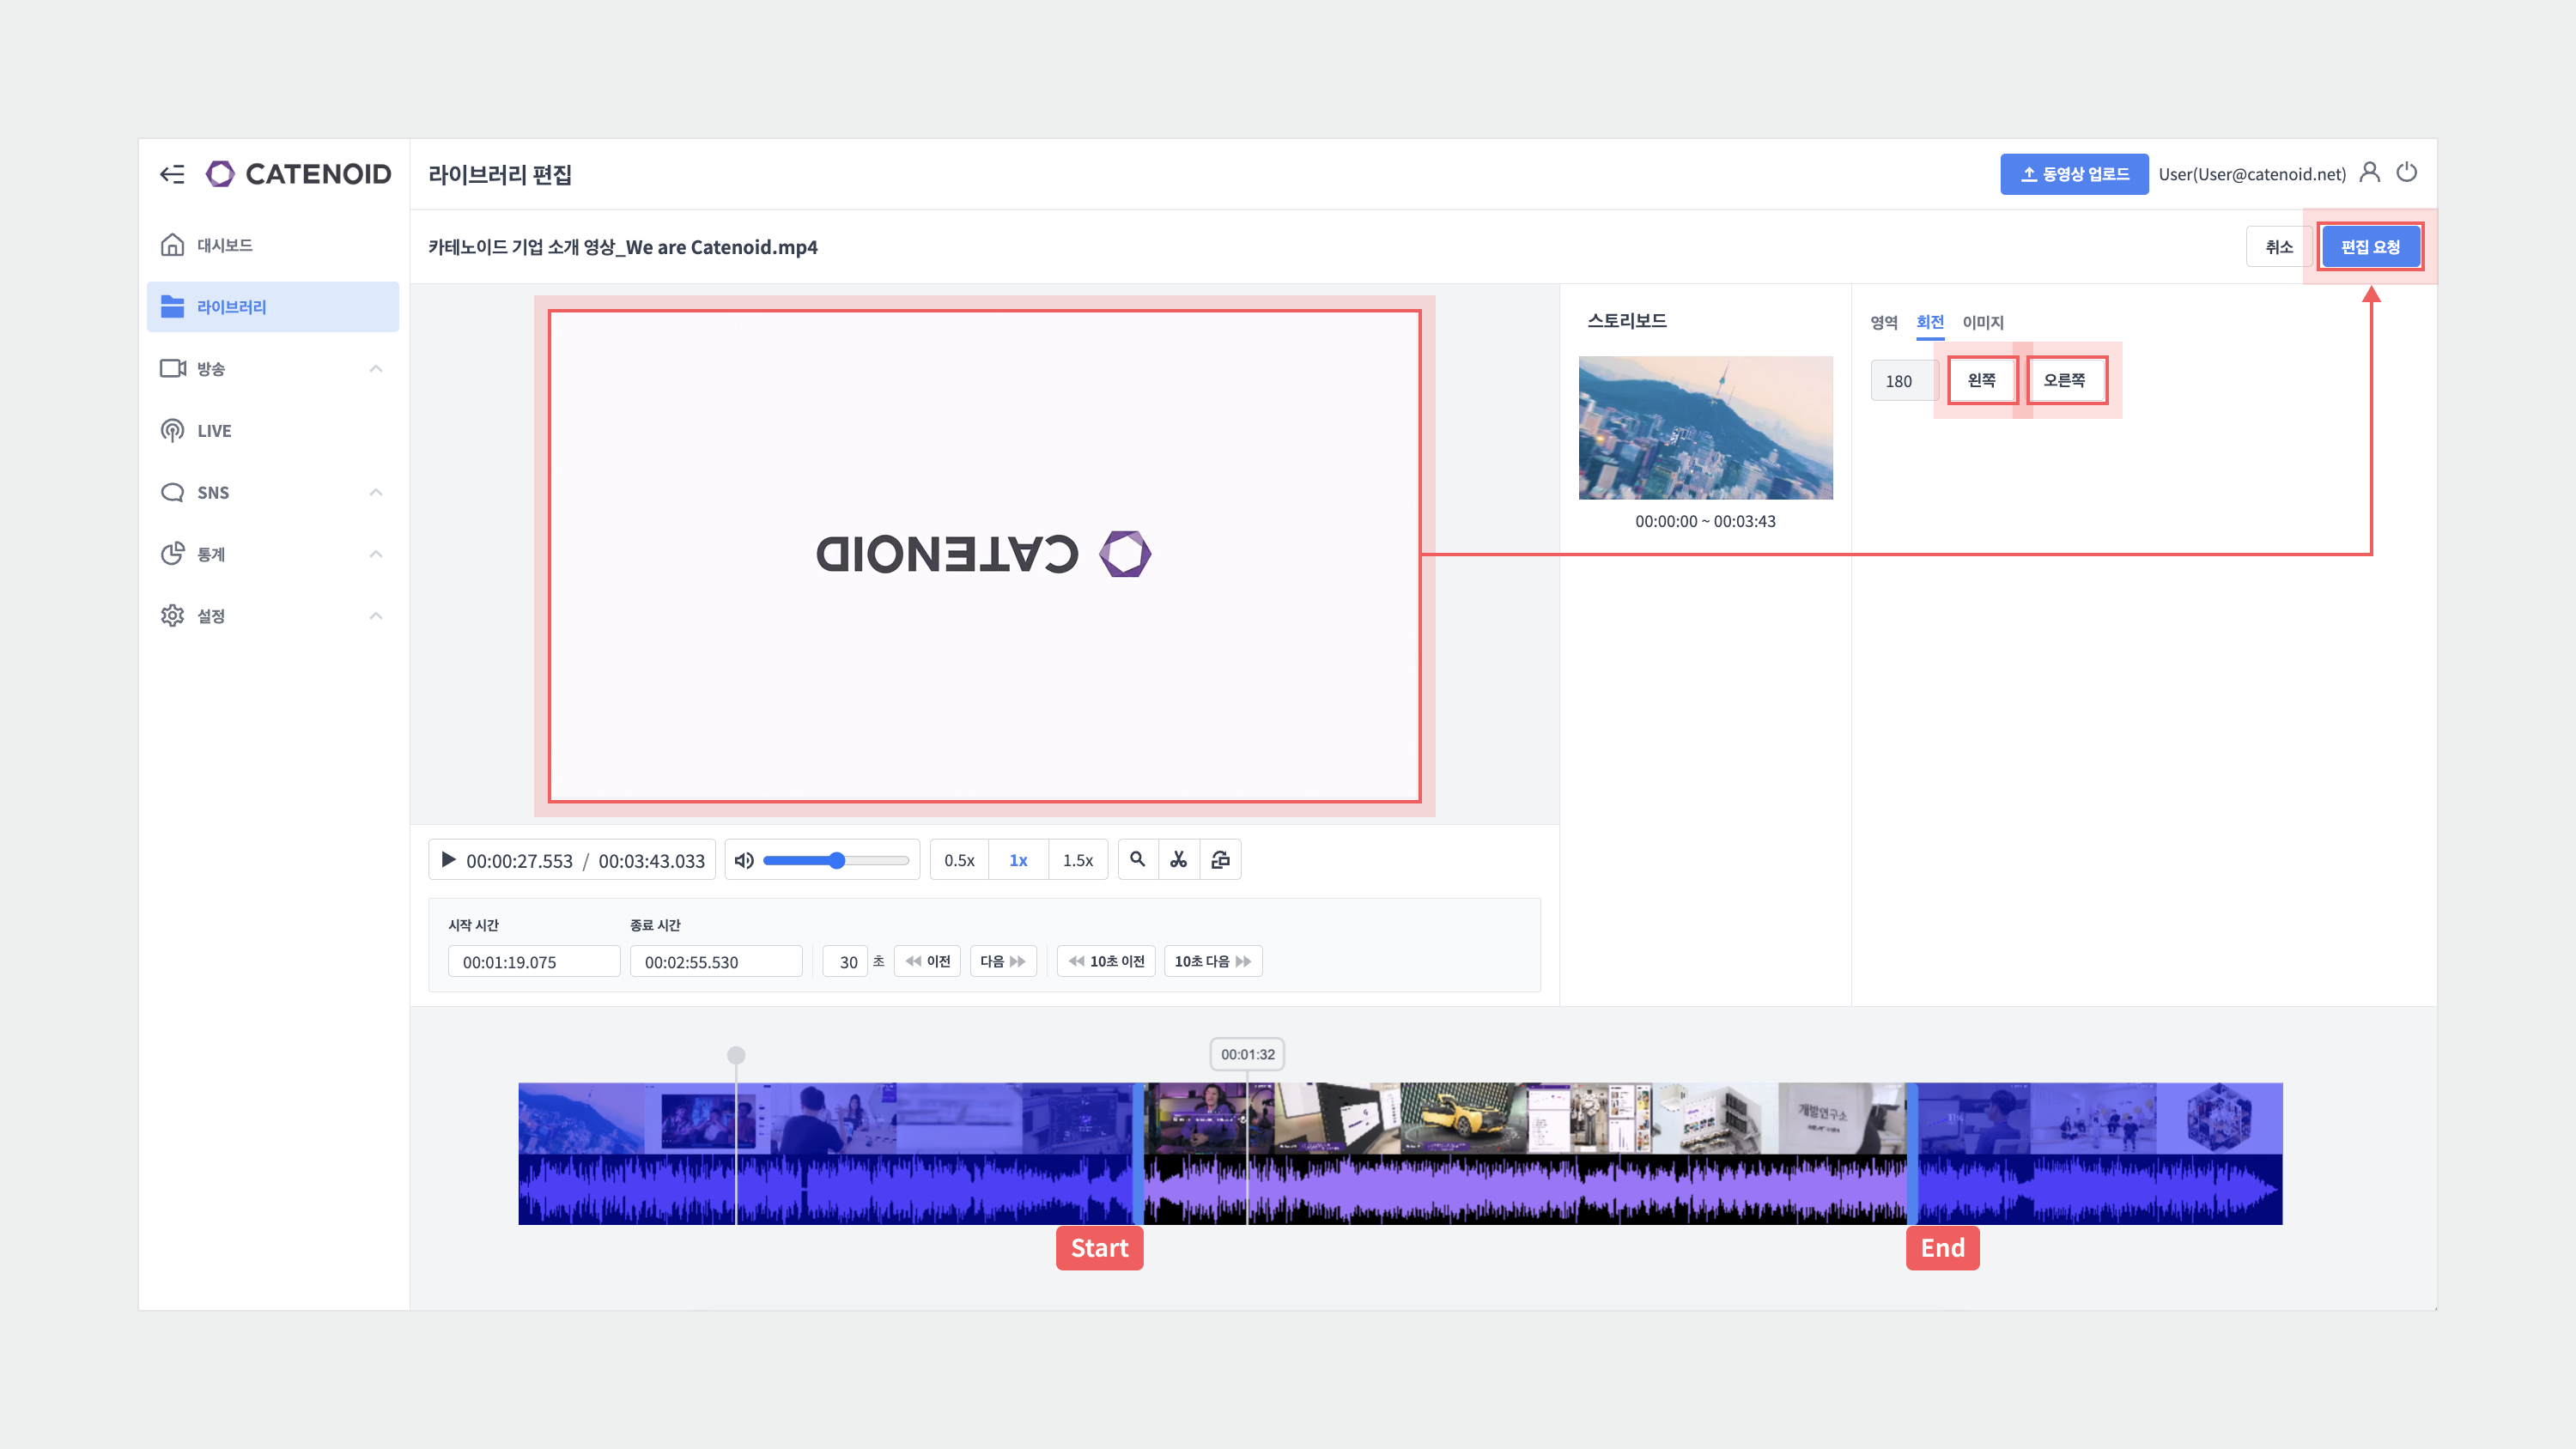
회전하고자 하는 동영상의 구간을 설정하여 스토리보드에 추가합니다. 왼쪽과 오른쪽으로 90도, 180도, 270도 회전이 가능하며, 서로 다른 방향의 동영상을 합칠 수 있습니다.
편집 구간 지정
**Step 2. 회전 요청**
스토리보드 오른쪽의 버튼을 눌러 사용자가 원하는 방향으로 회전 작업을 진행합니다. 회전이 완료되면 편집기 상단에 있는 편집요청 버튼을 클릭합니다.
회전 요청 화면
{% hint style="info" %}
**참고**
회전 설정 이후에는 영역 설정이 되지 않습니다. 편집 영상의 영역은 회전 설정 이전에만 설정 가능합니다.
{% endhint %}
### **회전 확인**
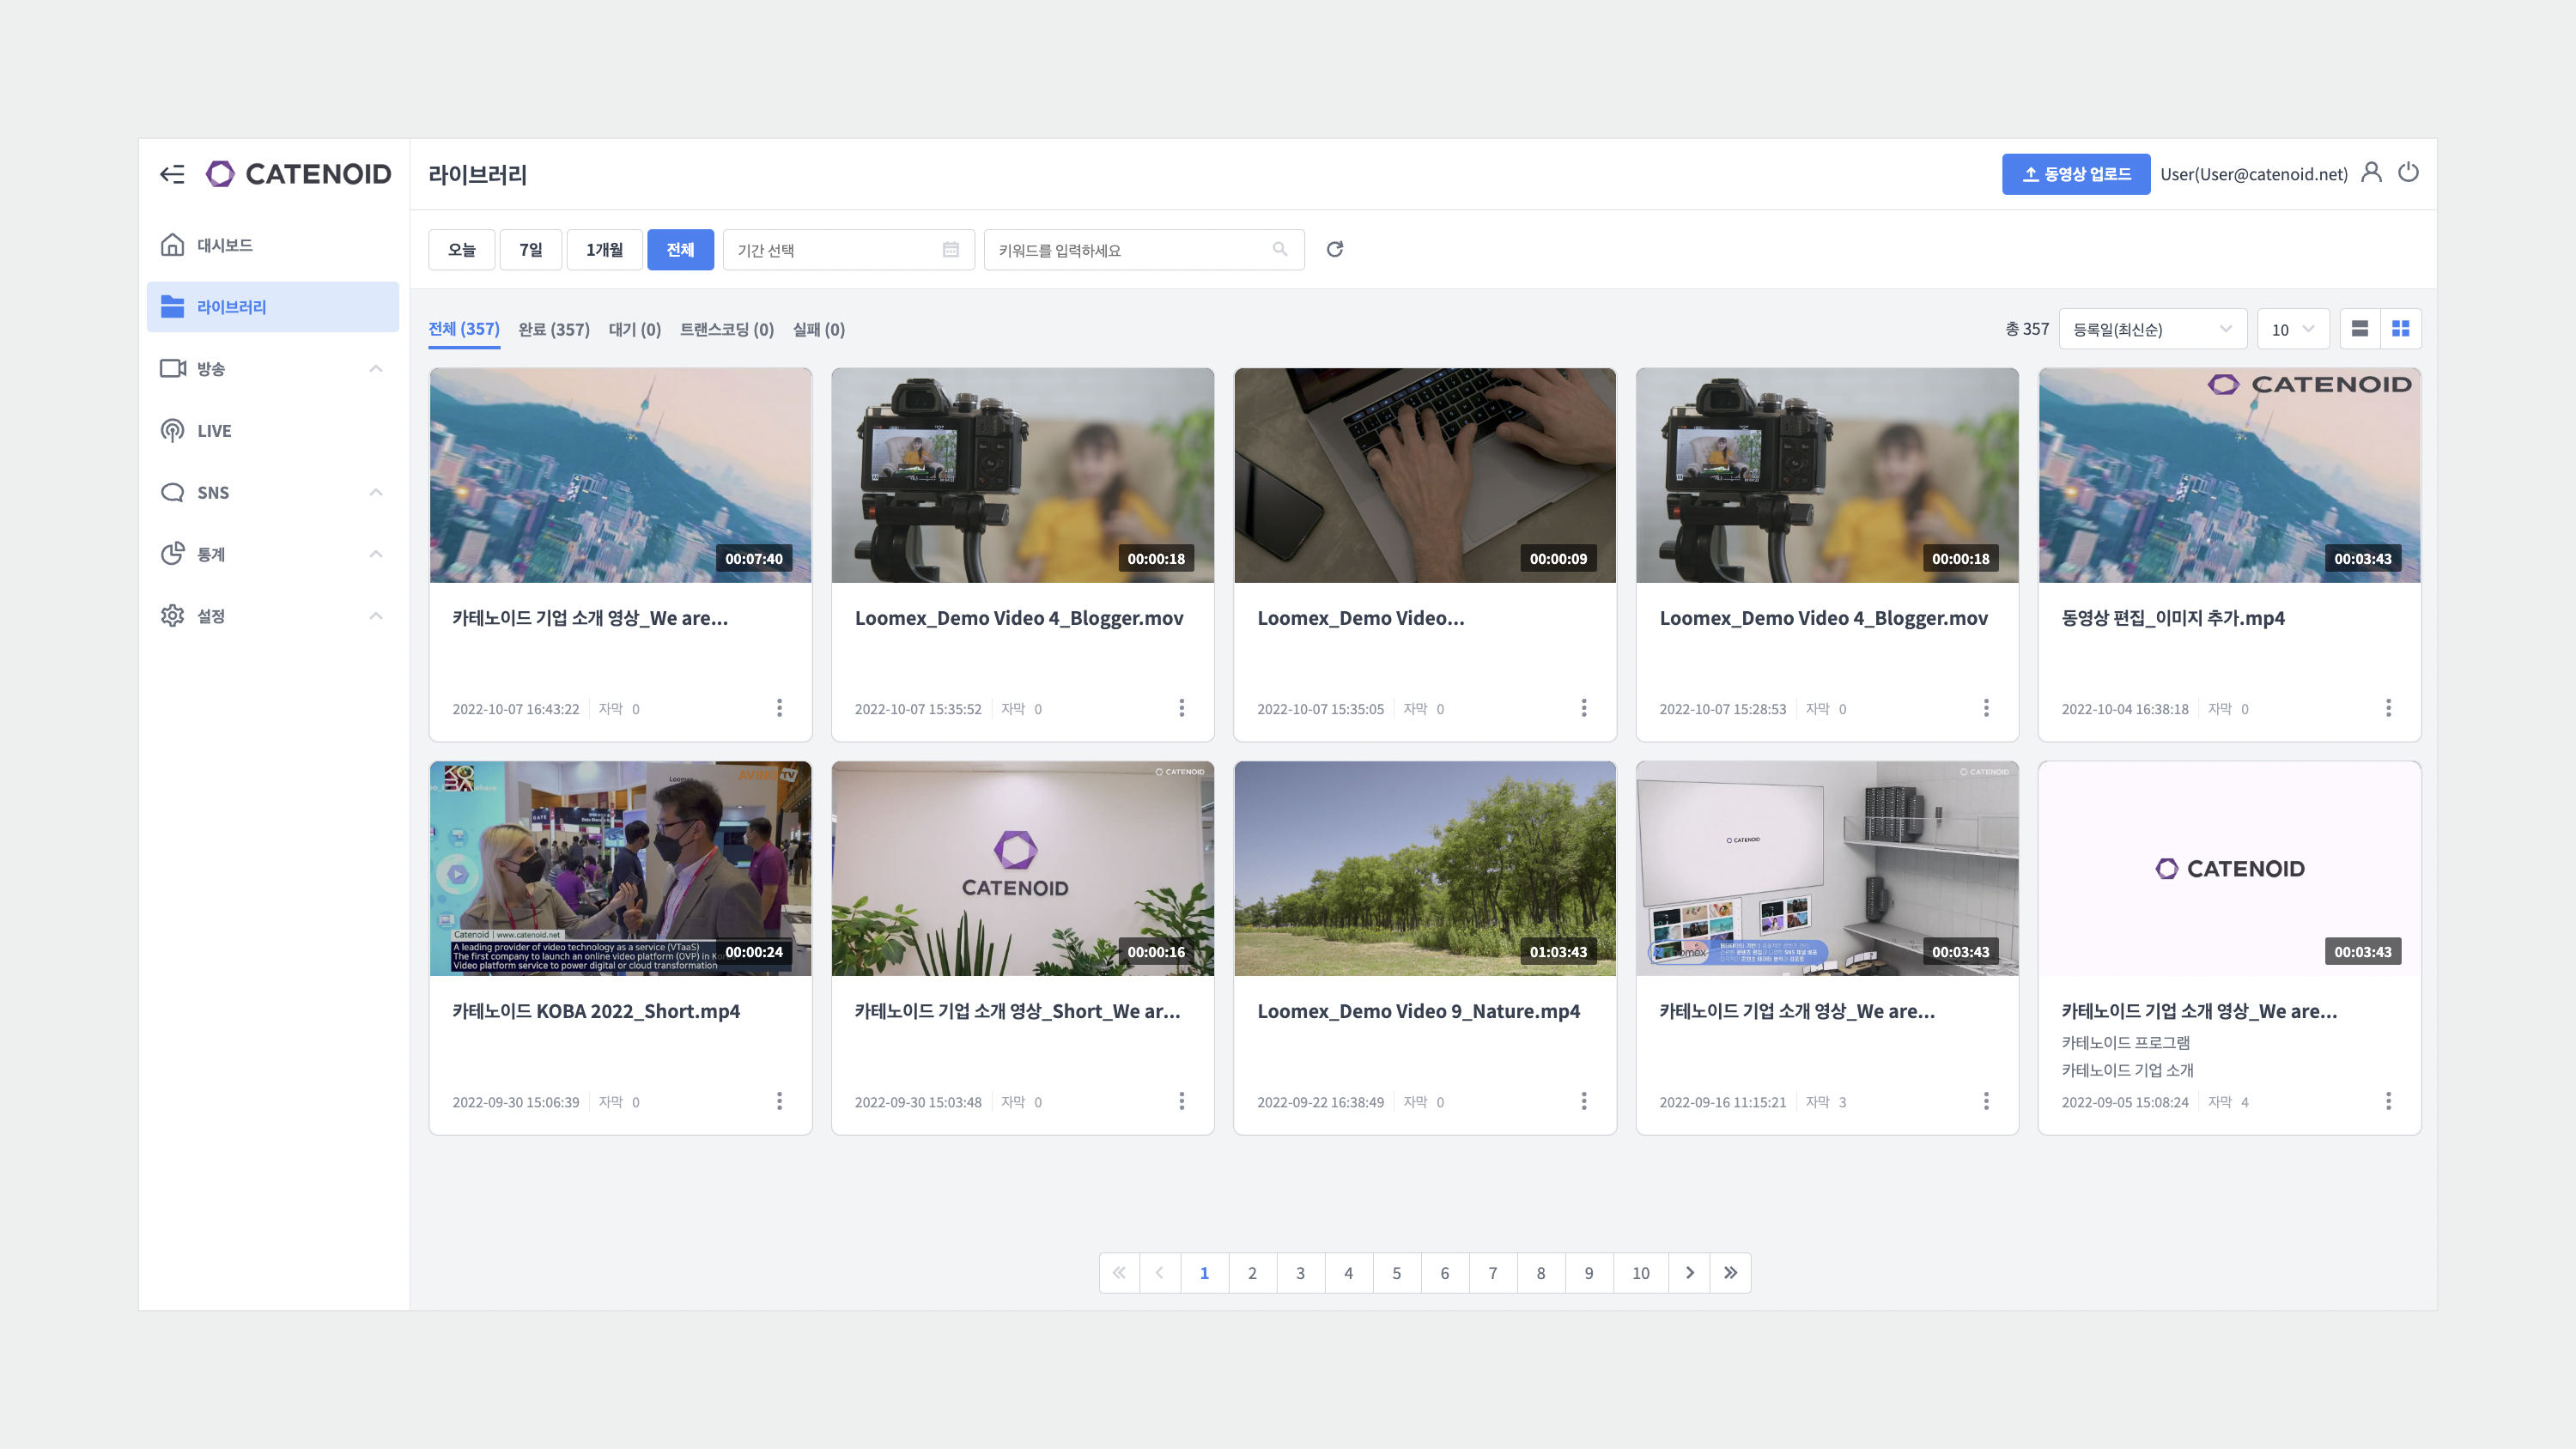
편집 요청 작업이 완료되면 편집된 동영상이 라이브러리 목록에 자동으로 업로드됩니다.